autumn flowers of Eastlake...

Roadside autumn crocus (Colchicum autumnale)
Fairview Avenue, Eastlake, Seattle.
Click to expand.

Roadside flowers, including: Schizostylis coccinea; Colchicum autumnale; and others.
Click to expand.

Community gardens.
Click to expand.

Community gardens (detail).
Click to expand.

air fares...

I flew for the first time in five years this past May, from Seattle to Chicago. The air fare was approximately $752 RT on United, but that was for Economy Plus – for more legroom. The base round trip ticket price from SEA to ORD was $417. The extra legroom cost me $120 per leg (of the trip, but I suppose you could say anatomically for the whole trip as well). Since I don’t fly as often any longer, I usually pay extra for legroom on cross-country trips. The total airfare in May 2023 was $752.

Here’s a simple chart showing the change in cost of average air fares over the past 30 years, or so. Though it looks like they are more expensive, air fares in the U.S. are often close to half of what they were in 1993 in terms of inflation-adjusted dollars.

Click to expand.


on walking and calorie control...

July 29, 2:30 PM PDT

Currently, this post consists of just a few time-series and data distribution charts posted to support a comment submitted to a New York Times article on the benefits of walking.

https://www.nytimes.com/2022/06/29/well/move/daily-walk-exercise-fun.html

I plan to add some supporting text, explanations, and share methods on how I’ve lost close to 50 pounds since early March 2022.

Click on any chart to expand it.

Part 1: Weight metrics


Blood Pressure Impacts

on geography, numeracy and truthiness...

In two recent pieces, the New York Times wrote articles on the death of a woman in Montana after being mauled by a grizzly bear. In both stories, to give readers a perspective on how rare these types of events are, the Times curiously quoted a statistic from Yellowstone National Park: since the opening of the park (in 1872), there have only been eight (8) recorded deaths due to grizzly bear attacks.

However, this most recent death from a suspected grizzly mauling occurred in Ovando MT, roughly 170 miles from the border with Yellowstone National Park. Grizzly bear ranges in the lower 48 states extend well beyond Yellowstone park boundaries.

A closer look at the broader Northern Rockies region reveals at least 30 deaths suspected from grizzly bear maulings since 1910. These deaths occurred in the Greater Glacier National Park region; the greater Bob Marshall Wilderness Complex; the Greater Absaroka-Beartooth Wilderness region, as well as the Great Yellowstone region which includes lands outside the park boundaries. I did not include deaths from Idaho, Colorado or California which occurred in the early part of the 20th century. I did not include deaths due to grizzly attacks across the northern border in Canada nor Alaska.

Most deaths have occurred outside the park boundaries. About half have occurred in Montana, in areas outside the park. This mortality statistic is a factor of 3.75 more than reported in both New York Times stories.


If spaced evenly over time, the eight Yellowstone fatalities come out to about one death per every 18 years. Obviously, that is not how these random events happen. But the low number stated immediately raised curiosity.

The NYT itself set up the geographic and time-scale boundary conditions for their story: in a correction where they restated a total count of grizzlies from an earlier version of their story to include only those bears in the Lower 48 states. In addition, this most recent event occurred far from Yellowstone’s boundaries so that fact extended the geography beyond Yellowstone National Park. Likewise, by using the fatality statistic from Yellowstone National Park, the NYT also set up the 149 year timeline boundary: from 1872 - present.

Fatalities due to being attacked by a grizzly are rare, whether we are talking 8 or 30 from a more restricted timeline from 1910 to present. Nevertheless, by setting up the greater geographic and time period boundaries in the story, then constricting the fatality counts to a relatively small subregion of the same territory, the story gives a misleading impression that mortality rates due to grizzly attacks are lower than they really are. If anything, there appears to be a cluster of deaths in the 1980s, before receding for two decades, and before more frequent fatalities began occurring again in the 2010s. Maybe there’s a story to be told there.

The word “truthiness” is a loaded term. It implies an authority is intentionally being misleading or is misdirecting without actually lying by giving only a selected or parsed version of the truth. I don’t believe for a second that the New York Times or any state or federal wildlife agency is intentionally trying to minimize grizzly deaths to tell this story. But they should be more careful with their numbers to avoid accusations of biased data or careless reporting.

Note: The data source on grizzly fatalities I used for my own post comes from Wikipedia. Normally, I dislike using Wikipedia as a data source; personal preferences. I did this today for convenience and expediency. But this listing looked to be well-researched, and if needed, easy to double-check using a search engine and government agency web sites.


on the arboretum's New Zealand plants...

The Washington Park Arboretum has a large garden dedicated to plants from the Southern Hemisphere, and more specifically Australia, Chile and New Zealand.

I went on a walk in early March and some of these plants and shrubs (mostly shrubs) caught my eye. My first walk was in the late afternoon on Wednesday, March 3 taken with no intention of looking specifically at this garden. I found some interesting shrubs and the shrubs that generally caught me eye were ones of a size and structure that might fit very well in a relatively sunny spot where a Cistus (rockrose) shrub recently died.

It might be difficult to find plants native to New Zealand in local nurseries. It might not even be a good idea to look for them aside from it being a likely futile search. But I might be able to print photos of these as a reminder of plants I liked in the ‘spring’ state and see if I can find native plants with similar attributes, be it form, color and/or size.


Pseudowintera colorata

What I like: I like the color and leaf form. The leaves are green-yellow-green on top and green-bluish on the underside. I like the size as it appears in the photograph.

Spread: The spread was approximately 40-inches in diameter and about 40-inches tall.

Type: Uncertain

Availability locally: Unknown

Similar but native to Pacific Northwest: TBD

Pseudowintera colorata
Form, color and size reference.

Pseudowintera colorata
Foliage detail.


Coprosma propinqua (Mingiming)

What I like: I like the dwarf evergreen appeal and structure; the almost chaparral look. I like the size as it appears in the photograph.

Spread: The spread was approximately 60-inches in diameter and about 40-50 inches tall.

Type: Evergreen tree or shrub

Availability locally: Unknown

Similar but native to Pacific Northwest: TBD

Coprosma propinqua (Mingiming)
Photograph taken in early March 2021, late afternoon.

Coprosma propinqua (Mingiming)
Photograph taken in early March 2021, late afternoon.

Coprosma propinqua (Mingiming)
Detail, leaves.


Veronica pinguifolia 'Sutherlandii'

What I like: I like the color and leaf form. The leaves are very green and appear to be succulent in structure and form. I like the size as it appears in the photograph.

Spread: The spread was approximately 40-inches in diameter and about 40-inches tall.

Concerns: I’ve tried growing several hebes in the alley border in the past without much luck. This was when surrounding trees cast more shade. They have been removed. These plants were planted close to other, taller plants and may have been crowded out or starved of sun.

Type: Uncertain, I think evergreen.

Availability locally: Unknown

Similar but native to Pacific Northwest: TBD

Veronica pinguifolia 'Sutherlandii'
Form (several plants). Photograph taken in early March, late afternoon.

Veronica pinguifolia 'Sutherlandii'
Detail, leaves. Photograph taken in early March, late afternoon.


Corokia cotoneaster

What I like: Mostly, I like the bare, winter form and current size. The leaves are glossy dark green. The branch structure is dense (good for the alley border) and dark – a lot of density here, which is good for the location I’m looking to place it.

Spread: The spread was approximately 60-72 inches in diameter and about 72-inches tall.

Type: Deciduous

Availability locally: Unknown

Similar but native to Pacific Northwest: TBD

Corokia cotoneaster
Form, color and structure. Photograph taken in early March, mid-morning.

Corokia cotoneaster
Detail, branch structure and leaves.


Libertia peregrinans

What I like: Mostly, the density, the uniform natural height, and the golden winter color of these grasses.

Spread: The spread was in a small garden bordered on three sides by sidewalks or gravel paths. So it was limited by the available soil.

Type: Grasses

Availability locally: Unknown

Similar but native to Pacific Northwest: TBD - but even if this species is hard to find, there are plenty of similar grasses in nurseries around the Puget Sound.


Rabbit protection, et al…

Some other things I noticed on these two recent visits to the arboretum were the ways the staff tried to repel rabbits – I presume. Rabbits have been all over Seattle in recent years, including the Arboretum.

The following are a few devices and deterrents put in place to discourage rabbits and other munching pests.

Black + white “buckets”

Made with two short pieces of rebar and a plastic sheet material with a black coating on one surface and a white coating on the other surface were used all over where the staff was trying to encourage seedlings to grow.

I suspect the reason for the specific colors are two-fold. I don’t know for certain, this is only a guess. But the black side, always exposed on the outer surface likely absorbs the sun’s ray and warms up the space inside. The internal white surface likely reflects the sun’s rays to improve lighting and photosynthesis throughout the day.

Two slits are cut into each end of the sheet material and two rebar stakes are threaded through the slits and driven into the ground.


Cage wraps

Standard wire caging availble at most hardware stores are cut to a strip width of around 18 inches and wrapped roughly to a 12-14 inch diameter cylinder form.

These were far and few between in the New Zealand exhibit zone. I suspect these might be to protect plants from pests (e.g. rabbits) but where the plant requires good air circulation.


Repellant materials.

Plantskydd was used is some areas with warning signs where it was applied.


Information Sources (unless indicated differently): University of Washington Botanic Gardens Washington Park Arboretum Interactive Map

Photographs: © David Blackwell, Seattle, 2021. Please contact for permission to use: https://www.litterrocks.com/contact

self-published photo books and prints

I’m interested in looking into ways to self-publish books or prints of some of the many photographs I’ve taken over the years. There are many ways to self-publish books, bt most are quite expensive. Like most manufactured products, a single unit costs the most, with costs per book decreasing as more units are printed. However, there is considerable risks associated with publishing too many books, namely if you can’t sell the units you’re paying for a number of the same books to sit on your shelves or in boxes at home.

An alternative to printing books is to print single high-quality prints, as prints only, or framed. Another option is to produce and sell a subset of prints, centered around a theme or idea, as a box of prints. Some high-end photography agencies, such as Magnum, sometimes do this through their online store.

I’ve tried printing books through the Blurb publishing site accessible via Adobe’s Lightroom photography software application. The cost of my single 52 pp. book ran about $50. The quality was so-so, certainly not of the grade found in many similarly-priced professional photo books in bookstores. But some of the quality issues were due to my misunderstanding of print resolution requirements at the time. Some of the quality issues could be tied to my paper selection. I believe Blurb called out a minimum print resolution of 240 dpi (dots per inch). Many of the photos I submitted were of much lower resolution, say 150-180 dpi. So the edges in some photographs were a little jagged.

Some images of my first (and to-date only) photo book are shown below. It was a black & white printing. It was a proof-copy only (e.g. no ISBN number was assigned; some contact information was incomplete).

I suppose an alternative to printing or self-publishing a book from a printing agency, selling single prints, and producing and selling a box of high-quality prints is to create a high-quality paste-up book, basically a scrapbook of sorts. This is something I’m attempting during this COVID Spring as a creative exercise to see how easy is it to do this and, how well can I do it.

A first self-published book proof printed via the Blurb service in 2016.

Sample page layout of my first self-published book proof printed via the Blurb service in 2016.

Another sample page layout of my first self-published book proof printed via the Blurb service in 2016.

A final sample page layout of my first self-published book proof printed via the Blurb service in 2016.


High-quality prints can be printed, boxed and offered as a set along a theme or idea as well.

Individual prints, standalone or framed.


A simple version of a ‘hand-built’ book can be made using an off-the-shelf acid-free sketchbook, high quality prints, and careful mounting techniques (here, the photos have not been mounted or bonded to the pages yet). This is essentially a scrapbook but with care and good technique can be an inexpensive method to “publish” a self-made book.

Don't drop the camera...

I was reading a book on the late photographer Garry Winogrand earlier this summer. The book is titled The Street Philosophy of Garry Winogrand and it's a good book. In it I came across a passage where it implied whenever people asked for Winogrand's advise on photography, he often wisecracked “Don’t drop the camera.”

Last night I took a trailside tumble off the edge of a steep mountainside and fell about 10-15 feet before crashing into a large granite rock with my head. It wasn’t a free fall — if I did that and landed square on my head as I did I probably wouldn’t be writing this small story this morning — someone else at the local paper would be. I slid most of that distance head-first through trees and rock. And fast. 

RIP, T109. d. August 16, 2018.

In the process, I lost a favorite camera to another rock. This camera was a Leica T109, probably a rebranded Panasonic with Leica glass. It’s a 4/3 compact camera but it fit easily into my pants pocket, had a terrific set of features including a viewfinder that I really liked, and it was very capable for this type of camera. It was a real workhorse for me and was my best go-to travel camera.

****

It was an odd day from the get-go. I dawdled, as I too often do these days, and got a late start from Seattle. I left about 10:30 AM, a little late for a hike in North Cascades National Park. The closest edge of the park is about 2-½ hours from Seattle on a day with light traffic, and most trailheads are a bit remote and require an additional 30-60 minutes of driving. It’s summer and there’s no such thing as light traffic in or around Seattle anymore on these long days. Plus, there were several long middle-of-nowhere back-ups on I-5 due to the summer road repair season. Spontaneity is a thing of the past, it seems. But leaving at 10:30 AM was late even in the earlier Age of Spontaneity

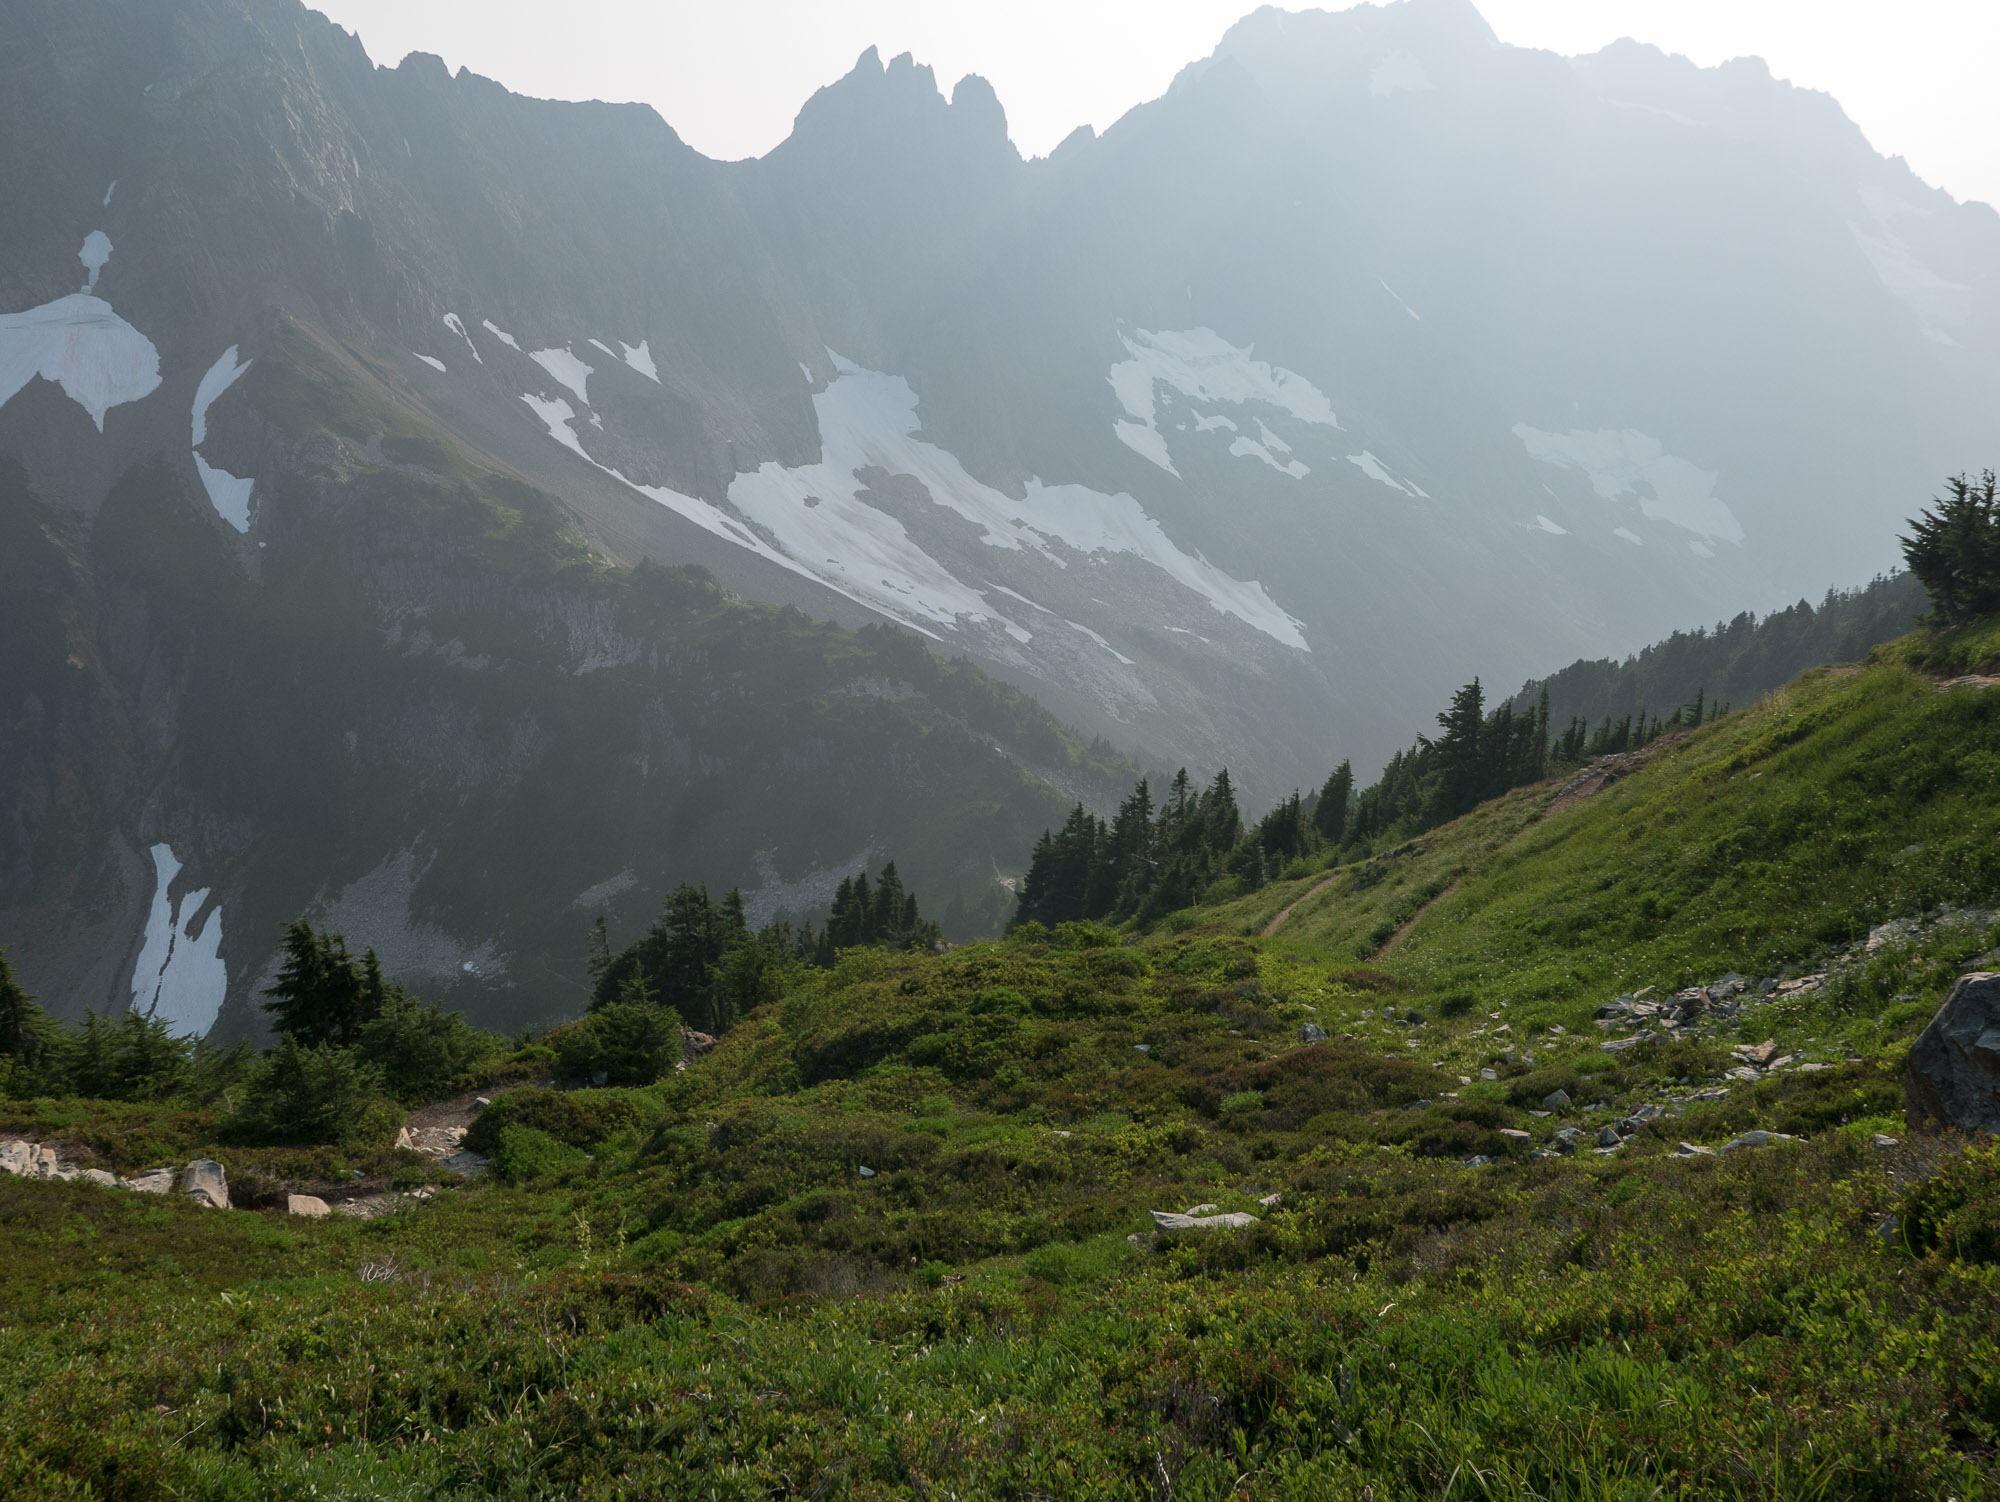
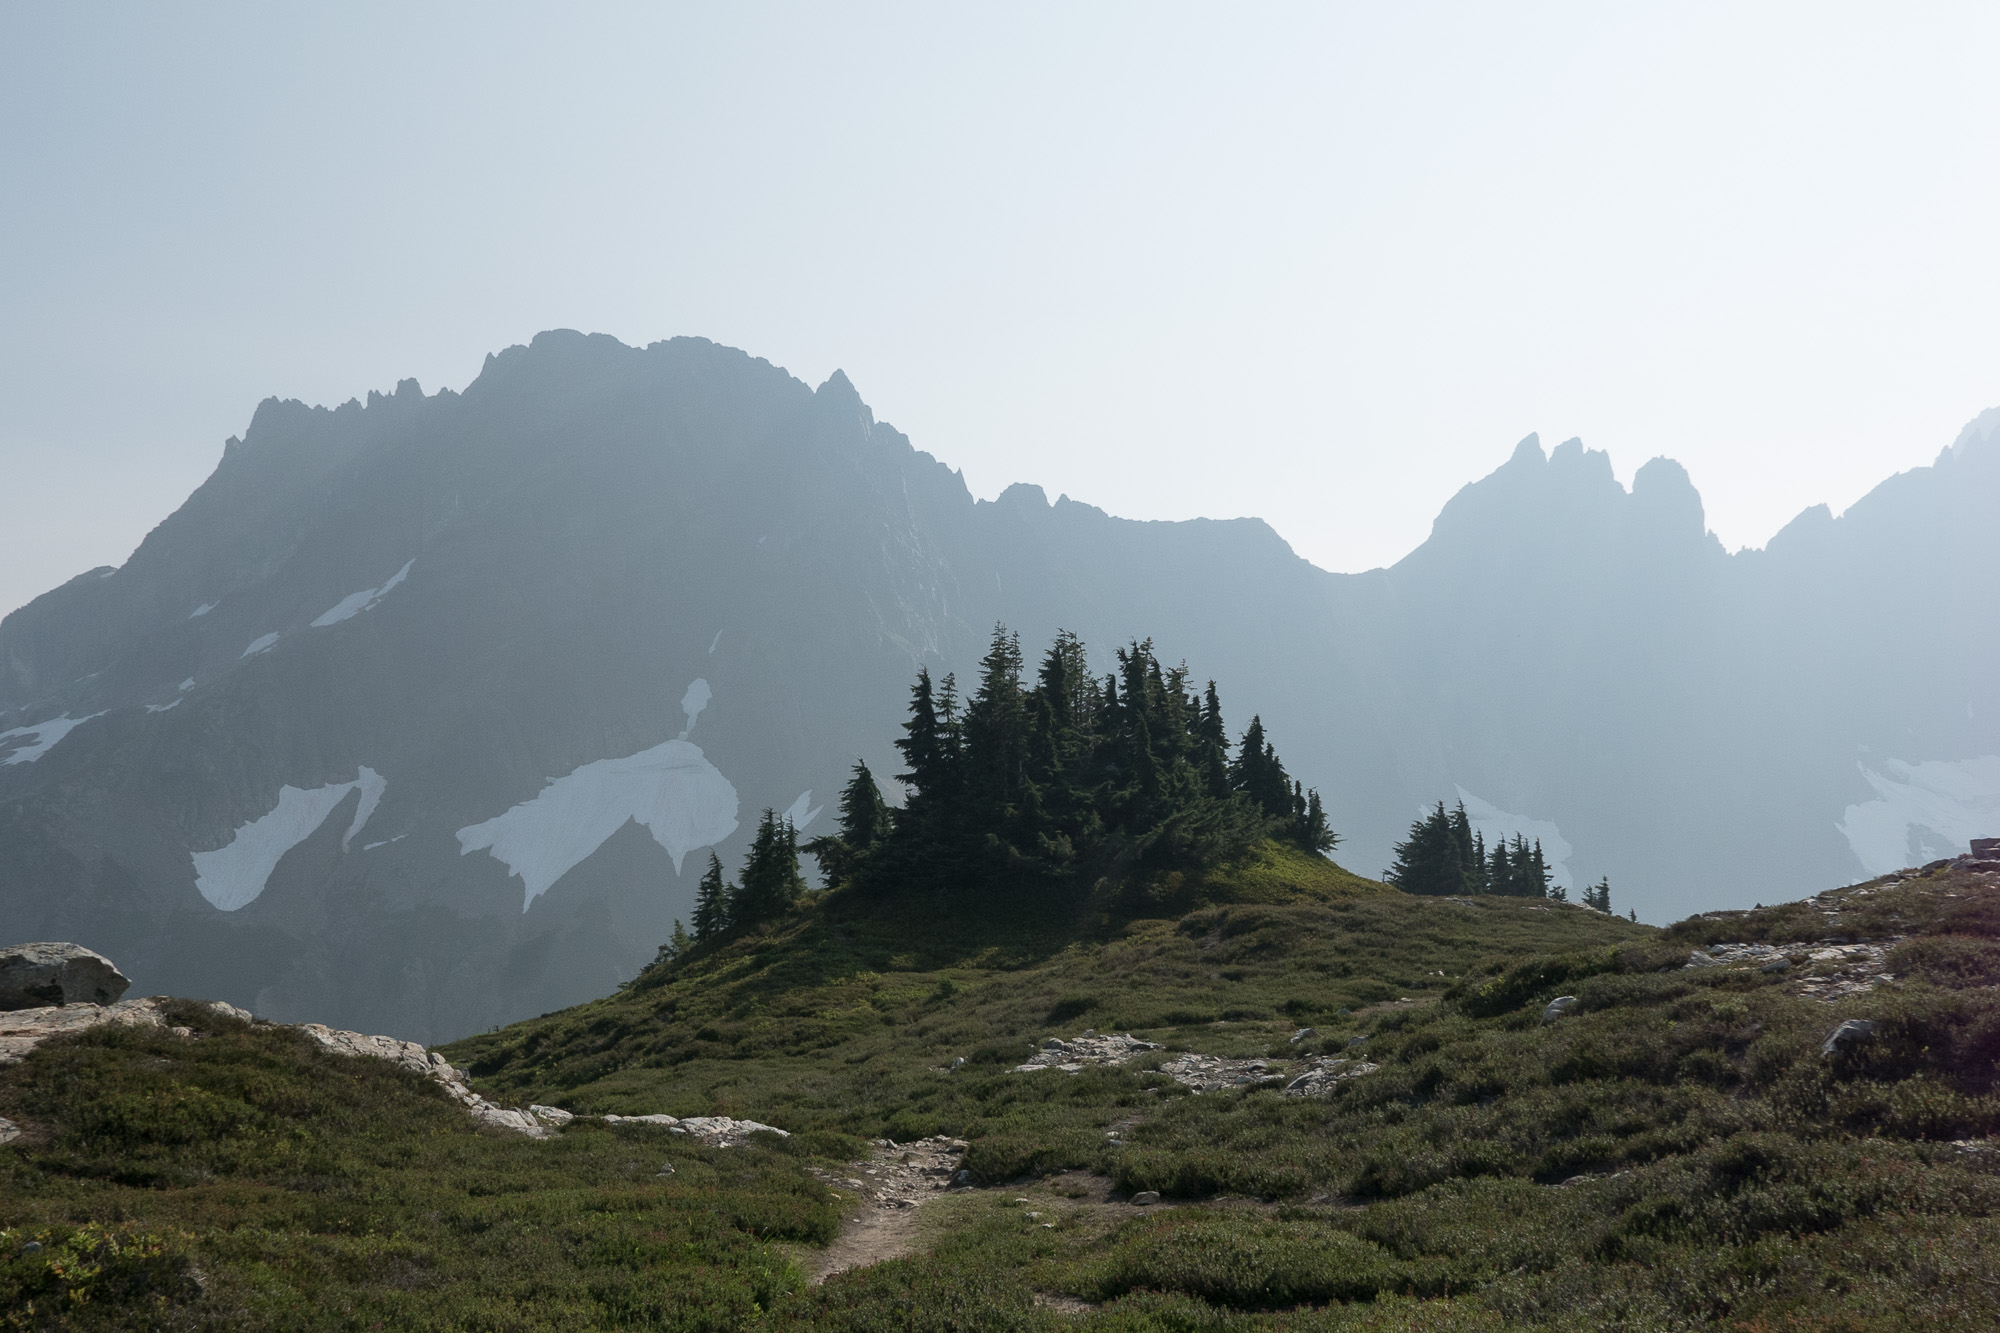
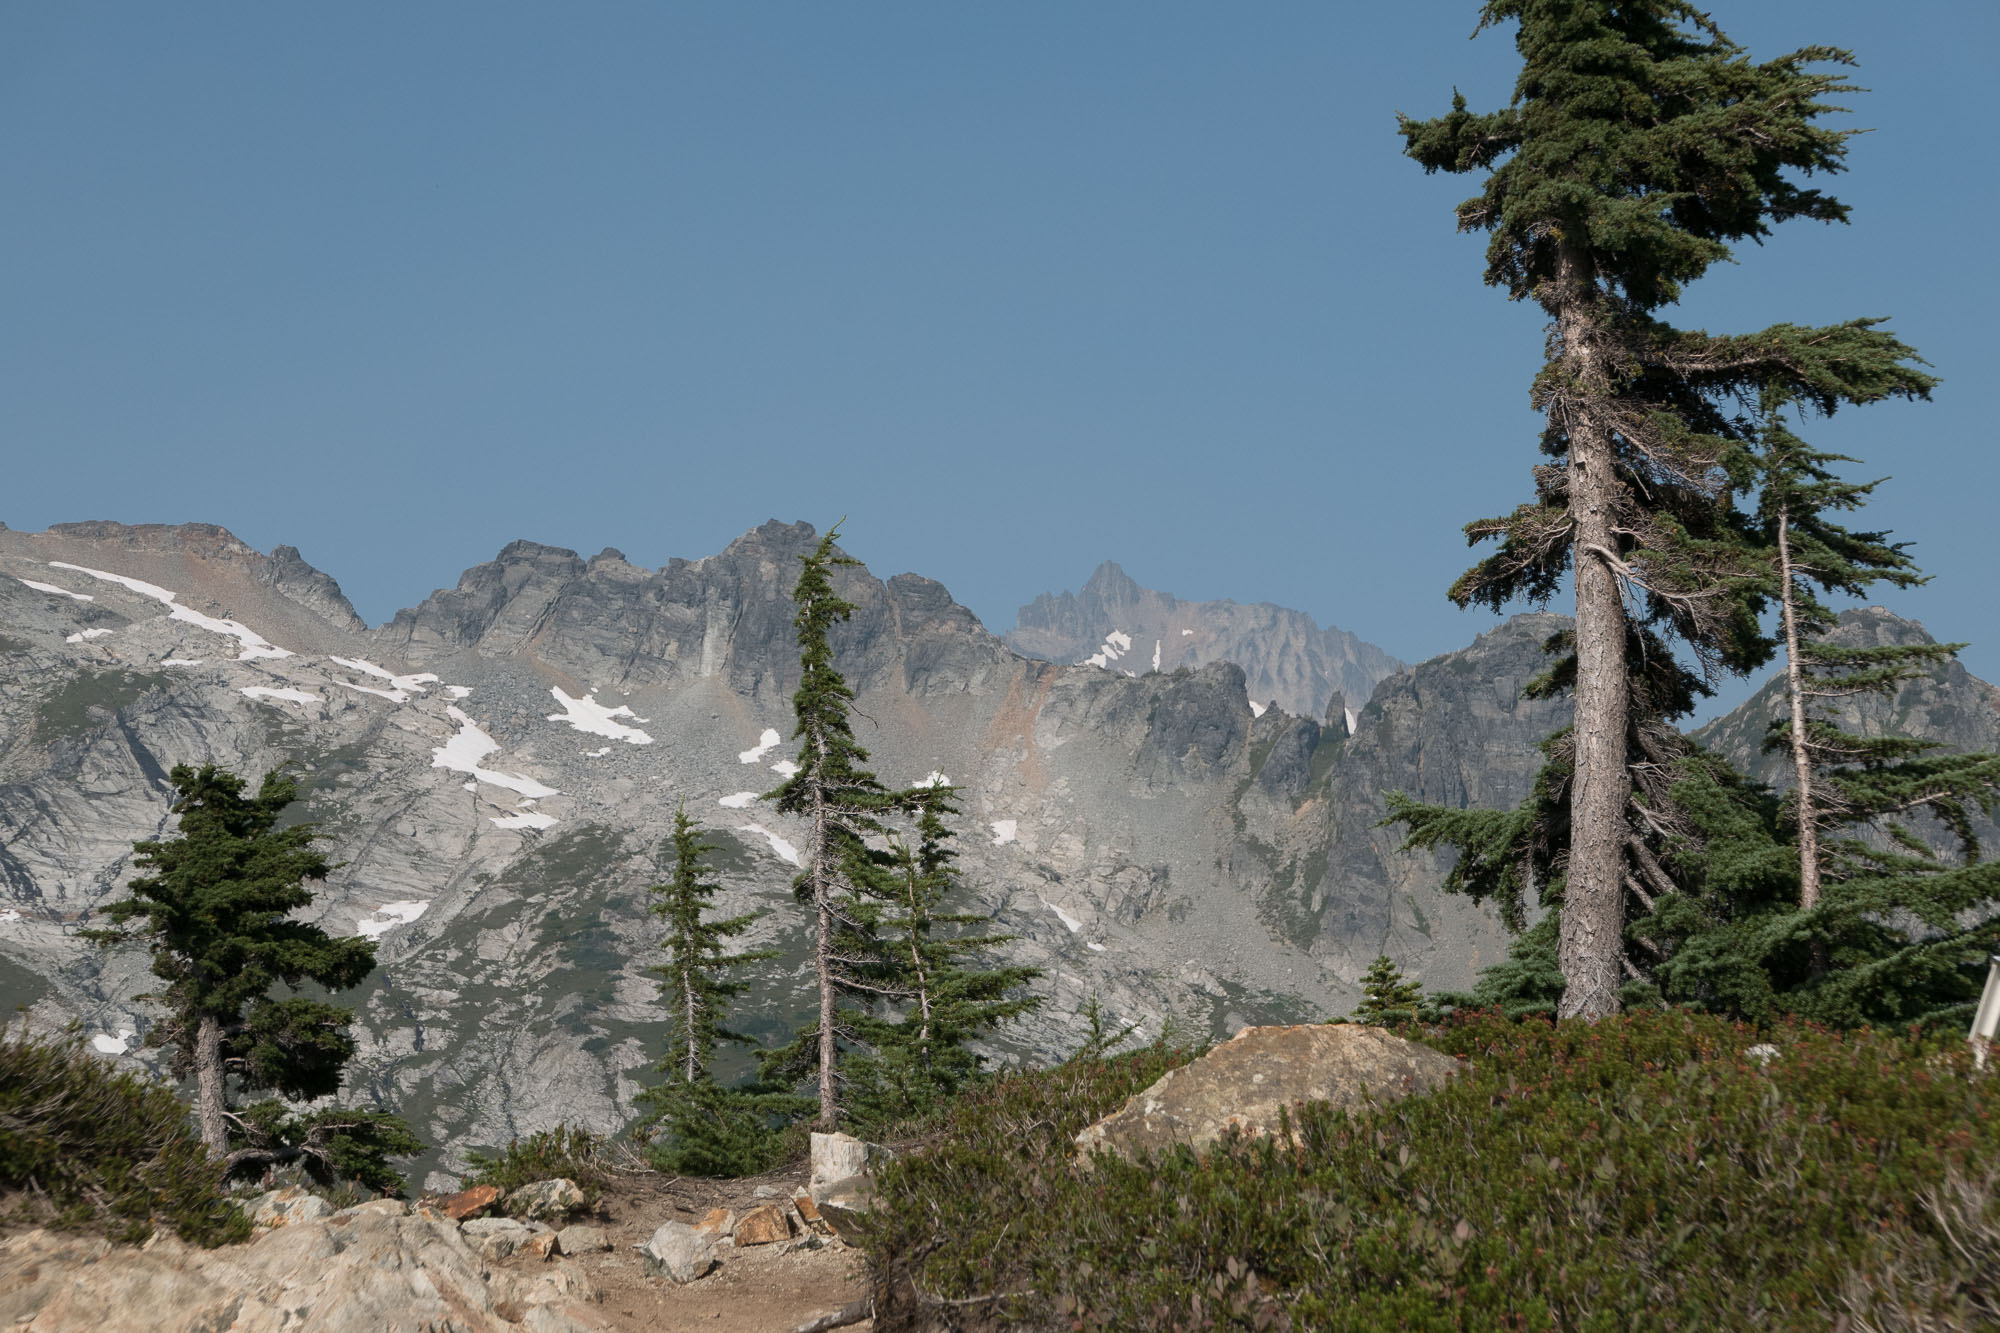
It’s been smoky in Washington in recent weeks due to many forest fires and when I pulled into the small foothills town of Concrete off the North Cascades Highway, you could barely see the mountains ahead of you. Everything looked dingy and crispy dry. I almost decided to turn back around and try another day, but I went on. As I thought might happen, as I got closer to the mountains, the smoke always seemed further ahead so, though hazy, I’d still get some views. 

On the drive up the Cascade River Road, in the upper reaches where it can be rough, especially for a passenger car, and where it washes out almost every winter, there was a small passenger car that went off the edge of the road. It’s basically a single lane road up there with few pullouts and I suspect the young driver drove to the edge to let another car pass on its way down. He misjudged a little and his right wheels slipped off the partially sunken road and the car had bottomed out.  I felt bad for him, but he was probably a little lucky. He went off in a small section with asphalt. If it had been only dirt and rocks, he may have slipped completely off the edge and down quite far into the forest below. A tow truck had already arrived by the time I reached him and was preparing to pull him out. The closest town is Marblemount, about 23 miles down the Cascade River Road, the uppermost 13 miles of them unpaved and a bit rough. But the tow truck service had him pulled out in about 15 minutes (there was a lot of scraping as to be expected, but the car wasn't leaking any oil or other fluids) and about 15 minutes later, I arrived at the dusty trailhead. With the added traffic and tow delay, I had lost about an hour.

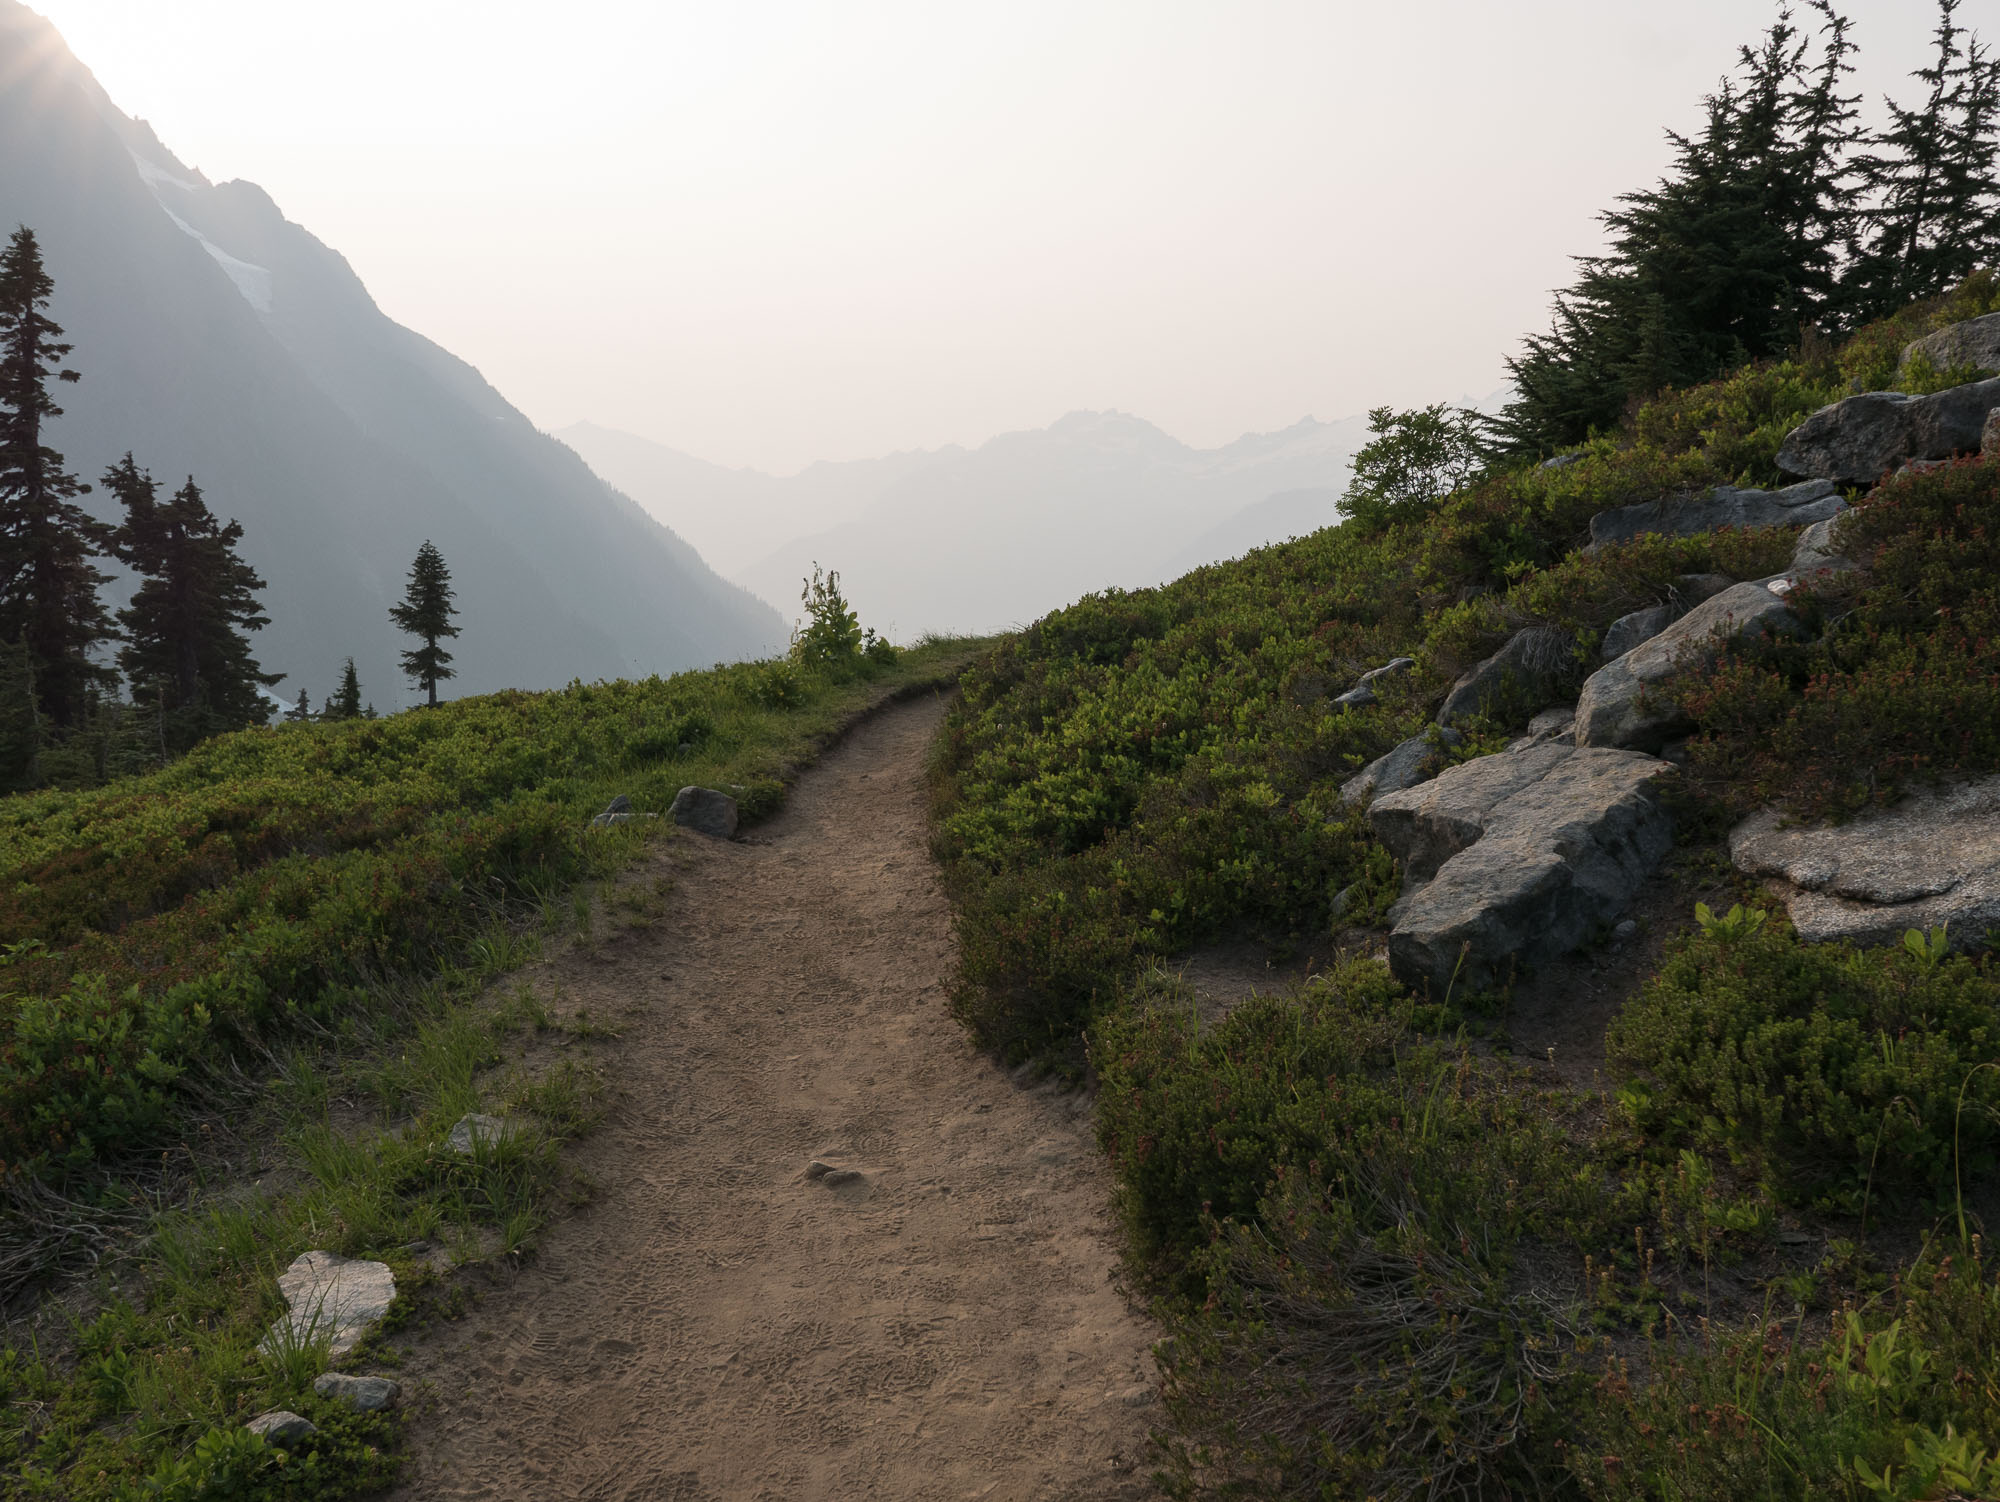
I started on the trail about 2:30 PM, the latest start time I’ve probably had for a day hike of this nature and distance. Due to that late start, I hiked only about 6 miles up to and along Sahale Arm, a little less than I usually do. I believe it is 6-½ to 7 miles to the climber’s camps at the base of Sahale glacier.  I set a 5:00 PM turnaround time for myself and modified it to 5:45 PM up on the arm. I didn’t want to hike out in the dark which is so often the case with me on this trail.

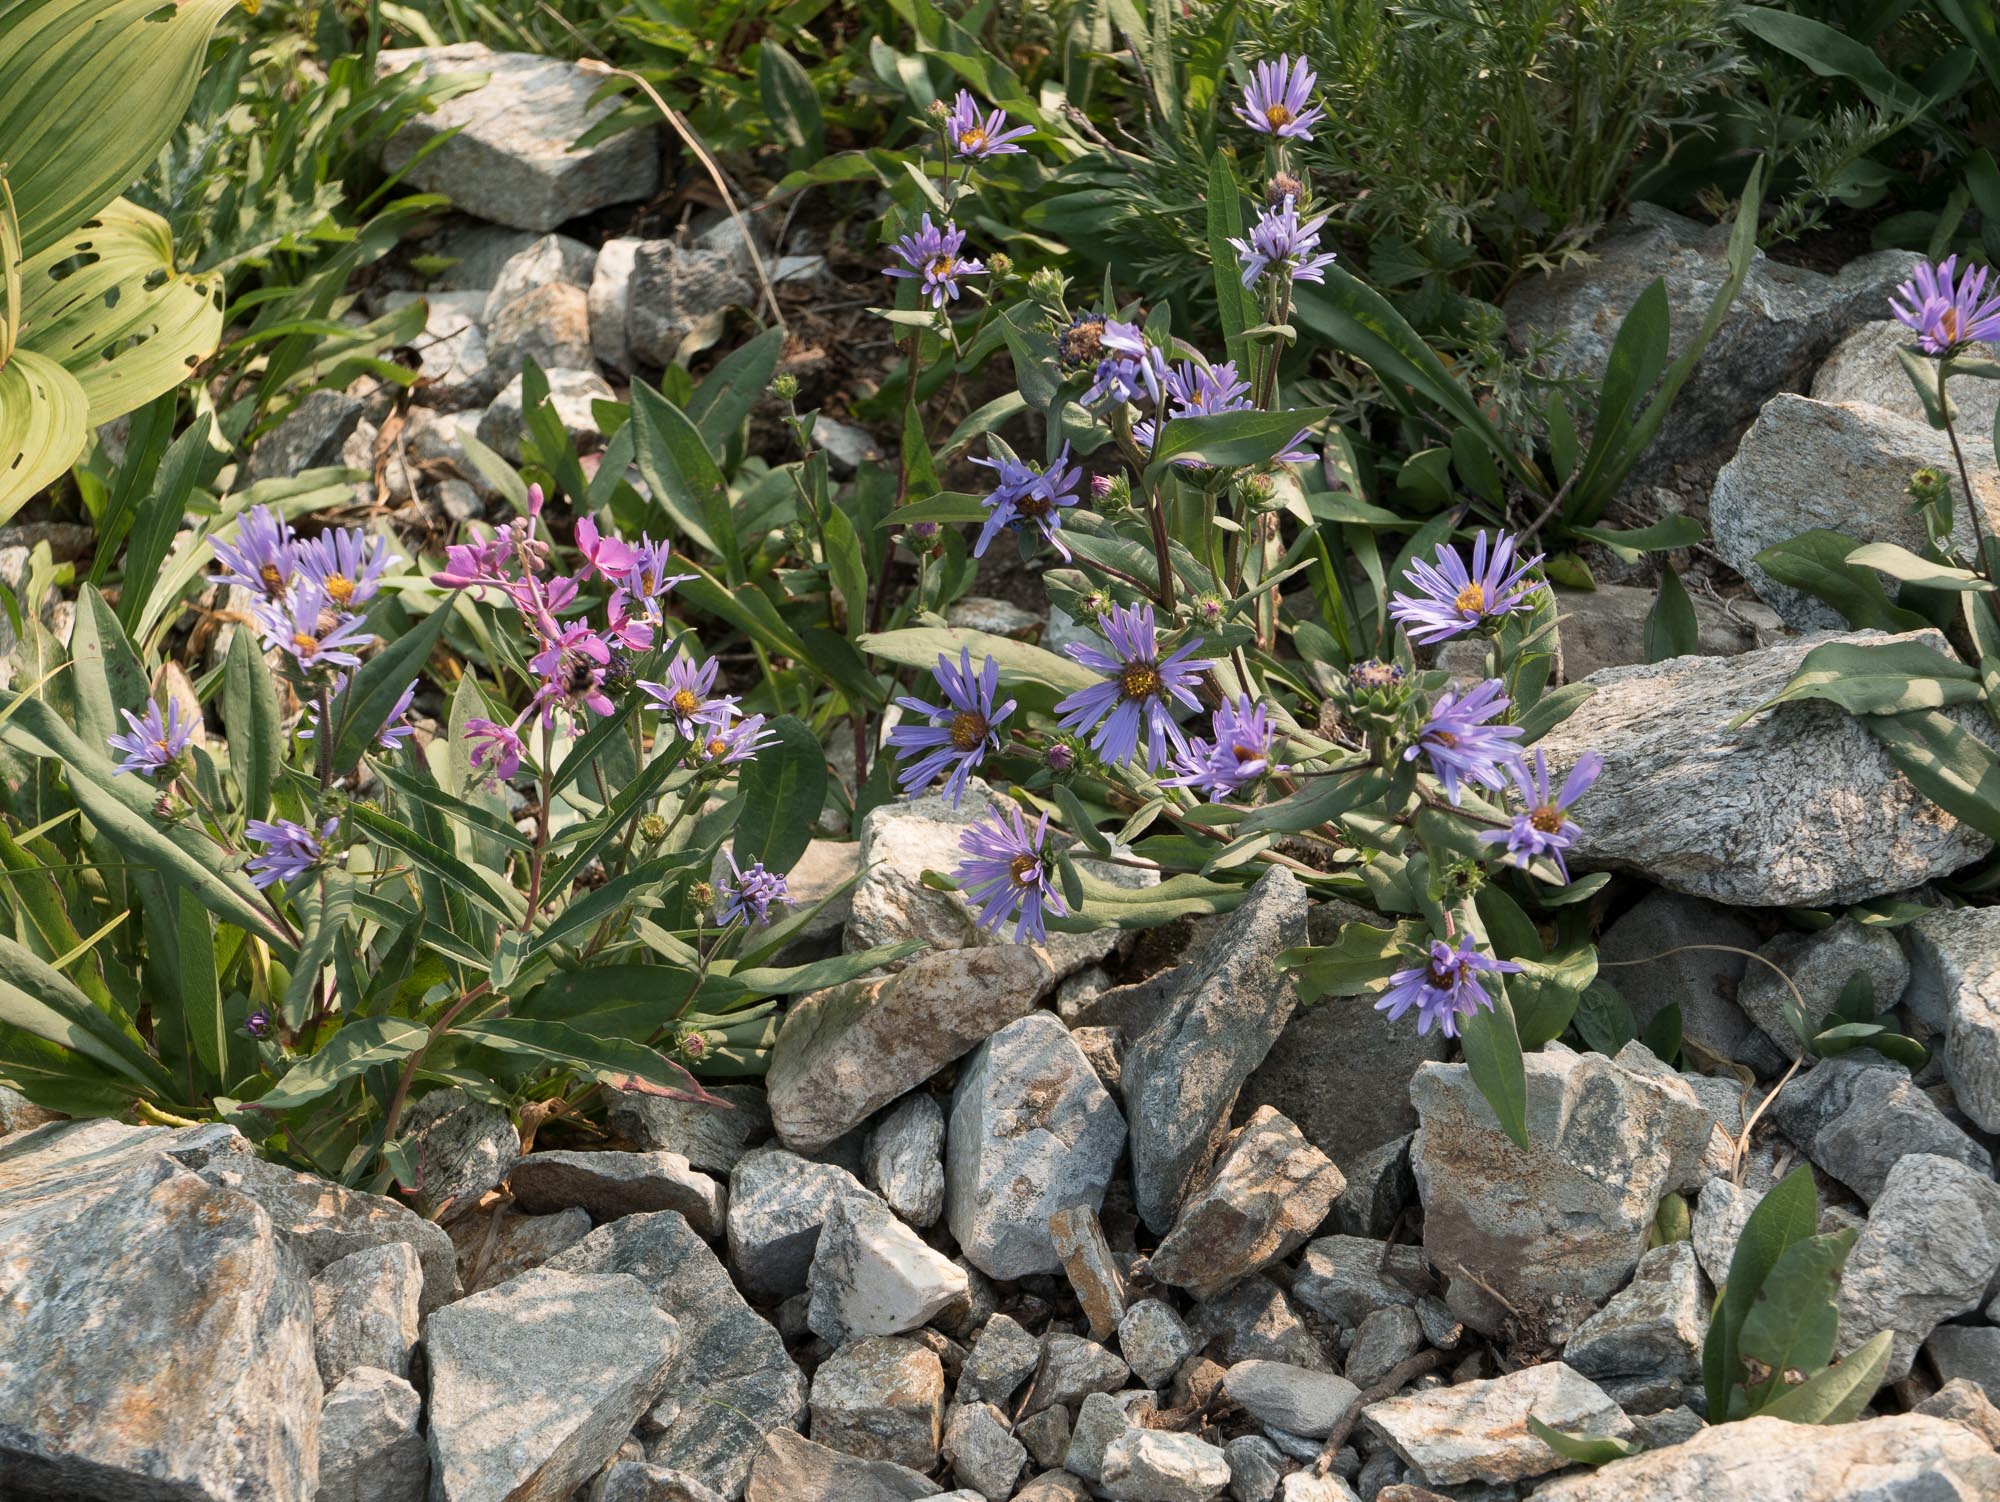
In the early evening on my way back down, I stopped to take a couple of photos from the trail as the sun set behind Hidden Lake Peak. I was in the easy lower forest with probably less than two miles remaining before reaching my car. After snapping the last of the photos, I turned to my left to continue to head down the trail. I must’ve been closer to the edge than I realized. My right foot fell into the void when I was expecting ground. Instantly I had that "oh no" thought – though I was thinking something other than no – and before I knew it I was falling and crashing head first through trees and rocks. I couldn’t stop the fall or arrest myself, and only came to a hard stop when the top of my head met a large granite boulder. I was wearing a canvas ‘fisherman’s’ crusher hat and that cushioned my head a little, but not much. It probably prevented a more serious cut.

Last image from the camera.

I was a bit dazed and after shaking off the stars, I realized my left knee and ankle were pretty sore – I wondered whether I could walk on them. I could with a slight gimp. They are still sore this morning. I twisted and whacked them on the fall. My right wrist is a bit sprained as well this morning. I must have used it to cushion the fall. This was the hand I was carrying my camera with. My left shin, arm and hand were bloodied, but mostly these were superficial cuts or road burns. They stung a little, but that’s it. The camera was crushed. I was shaken, dazed and shaky for most of the remaining walk to the car, but by the time I reached the parking lot at 8:30 PM I felt fine enough for the three hour drive home last night. Besides, what choice did I have?

All said, I probably am no more banged up than your average high school or college football player gets in a single hard hit in any given game. And they probably experience dozens of those hits every game, every week. But I’m not 18 or 20 years old any longer and not anywhere near the shape I was back when I was. I’m about 3 times that age now and it takes a little longer to heal.

****

In the end, last night I was lucky. I have a small history of falling off of things like ledges, embankments, bikes and ladders — mostly trailside or natural ledges; mostly in the dark. Last night it wasn’t dark. I was just simply careless. And I dropped the goddamn camera in the process. It could have been far worse, and the camera is replaceable. This morning, I’m only a little worse for wear — and a little materially poorer. For some reason, this entire summer, starting in about early May, has seemed a little off-kilter to me. And I'm not sure why. 

Sometimes, when reflecting on the many stupid things I’ve done over my life, I’ll brush them off with the self-effacing comment “Yeah, well I was young and stupid then. I’m not so young anymore.” This almost always elicits the question "How about stupid — you still stupid?" Last night, I answered that — in spades.

A quick and cool meal for a hot summer night

Openers:
Tortilla chips and homemade guacamole
a bowl of chilled gazpacho soup

Main dish:
Tarragon chicken salad
(deli) on slightly warmed pita bread
diced nectarine with squeeze of lime over the top.


Recipes:
Basic and Simple Guacamole,
[i]:

1. Grind into a paste (5 minutes) using a mortar and pistil:

a. A heavy pinch or two of kosher salt;
b. 1 to 1-½  teaspoons of chopped cilantro;
c. 1 tablespoon of finely diced onions (usually white, but red works fine); and
d. 1 finely diced Serrano pepper*  

2. Prepare the avocado (1 minute):

a. Slice one small-medium firm but ripe avocado in half lengthwise;
b. remove the pit; and
c. slice the guacamole flesh in each half in a crisscross argyle pattern.

3. Mix the cilantro paste and avocado flesh. Add a squeeze of lime juice (1 minute)

a. Scoop the flesh out of the skins and mix with the paste in a bowl;
b. leave the guacamole slightly chunky after mixing; and
c. squeeze ¼ of a lime over the guacamole.

Guacamole
Click to enlarge

****

Gazpacho Soup (prepared two days ago; about 1 hour to prepare)  [ii]

1. Add 1 28 oz. can of whole tomatoes to a large bowl including the liquid.

2. Reserve 2-3 of the whole tomatoes, chop into ¾ inch chunks, and store temporariy in a small bowl.

3. Add the following to the tomatoes and liquid in the bowl:

  • 1 cup of tomato juice;

  • 1 tablespoon of red wine vinegar;

  • 1 toothpaste-sized or smaller squirt of Amore garlic paste;

  • 3 tablespoons of olive oil;

  • 1 teaspoon of Kosher salt;

  • ½ teaspoon of sugar (raw); and

  • ½ teaspoon of dried oregano (prefer Mexican oregano, but it's not important)

4. Puree these ingredients in large food processor. Set aside in a large bowl.

5. Add to the pureed liquid:

  • the previously reserved and chopped tomatoes;

  • 1 stalk of finely chopped celery:

  • 1 small green chile, seeded and finely chopped. Serrano or jalapeno peppers work fine:

  • ½ cup (72 gr) of peeled, seeded and chopped cucumber:

  • ¼ cup (37 gr) of finely chopped red onion;

  • ¼ cup (37 gr)of seeded and finely chopped green bell pepper; and

  • ⅓ cup (55 gr) of sliced pimento-stuffed olives.

6. Cover and chill for 8 hours to 3 days.

Add garnishments of sliced avocado or chopped cilantro sprigs, as desired.

Gazpacho Soup
Click to enlarge


Notes and acknowledgements

[i]  As found in the New York Times and several other publications, most recently on July 1, 2018.
https://cooking.nytimes.com/recipes/1008-guacamole. I follow this recipe – sans tomato – and have for several years, having lost my original source for the recipe.

[ii] Basic recipe reference: Cooking A to Z, The Complete Culinary Reference Tool; California Culinary Academy; Horn, Jane, editor; The Cole Group; 1992.